一、安装驱动
1.1 安装NVIDIA驱动
1
2
| sudo pacman -S nvidia
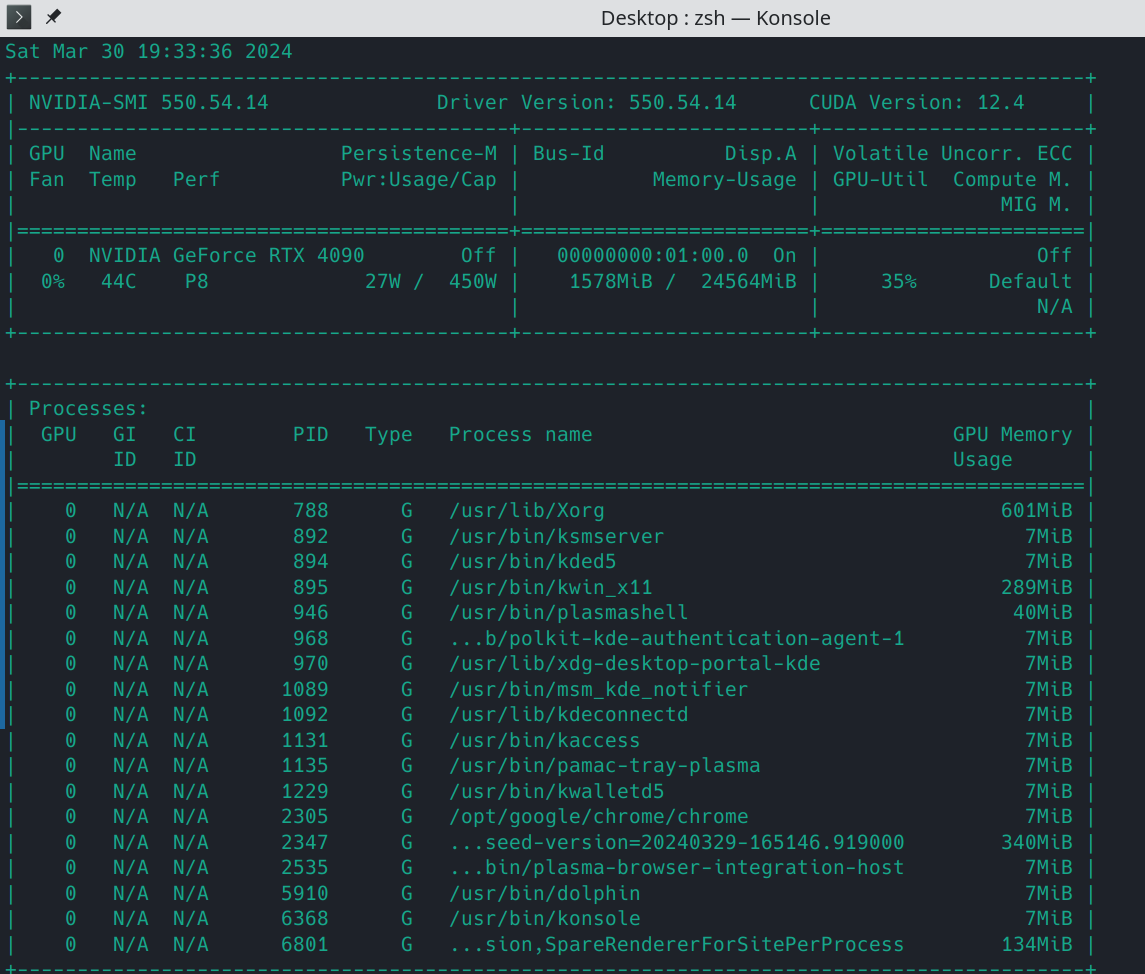
nvidia-smi
|
可以看到
1.2 CUDA cuDnn安装
1
| sudo pacman -S cuda cudnn
|
二、安装 Anaconda
1
| sudo pacman -Sy libxau libxi libxss libxtst libxcursor libxcomposite libxdamage libxfixes libxrandr libxrender mesa-libgl alsa-lib libglvnd
|
下载软件包 https://www.anaconda.com/products/individual
1
2
3
| chmod +x ~/Anaconda3-2021.11-Linux-x86_64.sh
bash Anaconda3-2021.11-Linux-x86_64.sh
anaconda-navigator
|
关闭
2.1 conda换源
1
2
3
4
5
6
7
| vim ~/.condarc
channels:
- https://mirrors.tuna.tsinghua.edu.cn/anaconda/pkgs/main/
- https://mirrors.tuna.tsinghua.edu.cn/anaconda/pkgs/free/
- https://mirrors.tuna.tsinghua.edu.cn/anaconda/cloud/conda-forge/
- https://mirrors.tuna.tsinghua.edu.cn/anaconda/cloud/pytorch/
ssl_verify: true
|
2.2 zsh生效
1
2
3
4
5
6
7
8
9
10
11
12
13
14
15
16
| # added by Anaconda3 5.3.0 installer
# >>> conda init >>>
# !! Contents within this block are managed by 'conda init' !!
__conda_setup="$(CONDA_REPORT_ERRORS=false '/anaconda3/bin/conda' shell.bash hook 2> /dev/null)"
if [ $? -eq 0 ]; then
\eval "$__conda_setup"
else
if [ -f "/anaconda3/etc/profile.d/conda.sh" ]; then
. "/anaconda3/etc/profile.d/conda.sh"
CONDA_CHANGEPS1=false conda activate base
else
\export PATH="/anaconda3/bin:$PATH"
fi
fi
unset __conda_setup
# <<< conda init <<<
|
添加到 ~/.zshrc
1
2
3
| source ~/.zshrc
zsh conda
conda activate base
|
上述命令会激活名为base的anaconda环境
三、安装pytorch和tensorflow
3.1 pip换源
1
| pip config set global.index-url https://pypi.tuna.tsinghua.edu.cn/simple
|
3.2 安装pytorch
1
| conda install pytorch torchvision torchaudio pytorch-cuda=12.1 -c pytorch -c nvidia
|
验证pytorch,在python中运行
1
2
| import torch
torch.cuda.is_available()
|
输出 true,就可以使用 cuda 来加速计算了。
3.3 安装tensorflow
验证tensorflow,在python中运行
1
2
3
4
| import tensorflow as tf
tf.__version__
print("Num GPUs Available: ", len(tf.config.experimental.list_physical_devices('GPU')))
print("Num CPUs Available: ", len(tf.config.experimental.list_physical_devices('CPU')))
|
输出
1
2
| Num GPUs Available: 1
Num CPUs Available: 1
|
1
2
| device_name = tf.test.gpu_device_name()
print('Found GPU at: {}'.format(device_name))
|
输出
1
| Found GPU at: /device:GPU:0
|
四、安装tensorrt(解决
TF-TRT Warning: Could not find TensorRT)
4.1 安装pycuda
1
2
3
| pip install pycuda
yay -S python-onnx python-onnxruntime
|
4.2 安装tensorrt
参考
查看tensorflow缺的是哪个版本tensorrt
1
2
| sudo pacman -S strace
strace -e open,openat python -c "import tensorflow as tf" 2>&1 | grep "libnvinfer\|TF-TRT"
|
可以看到
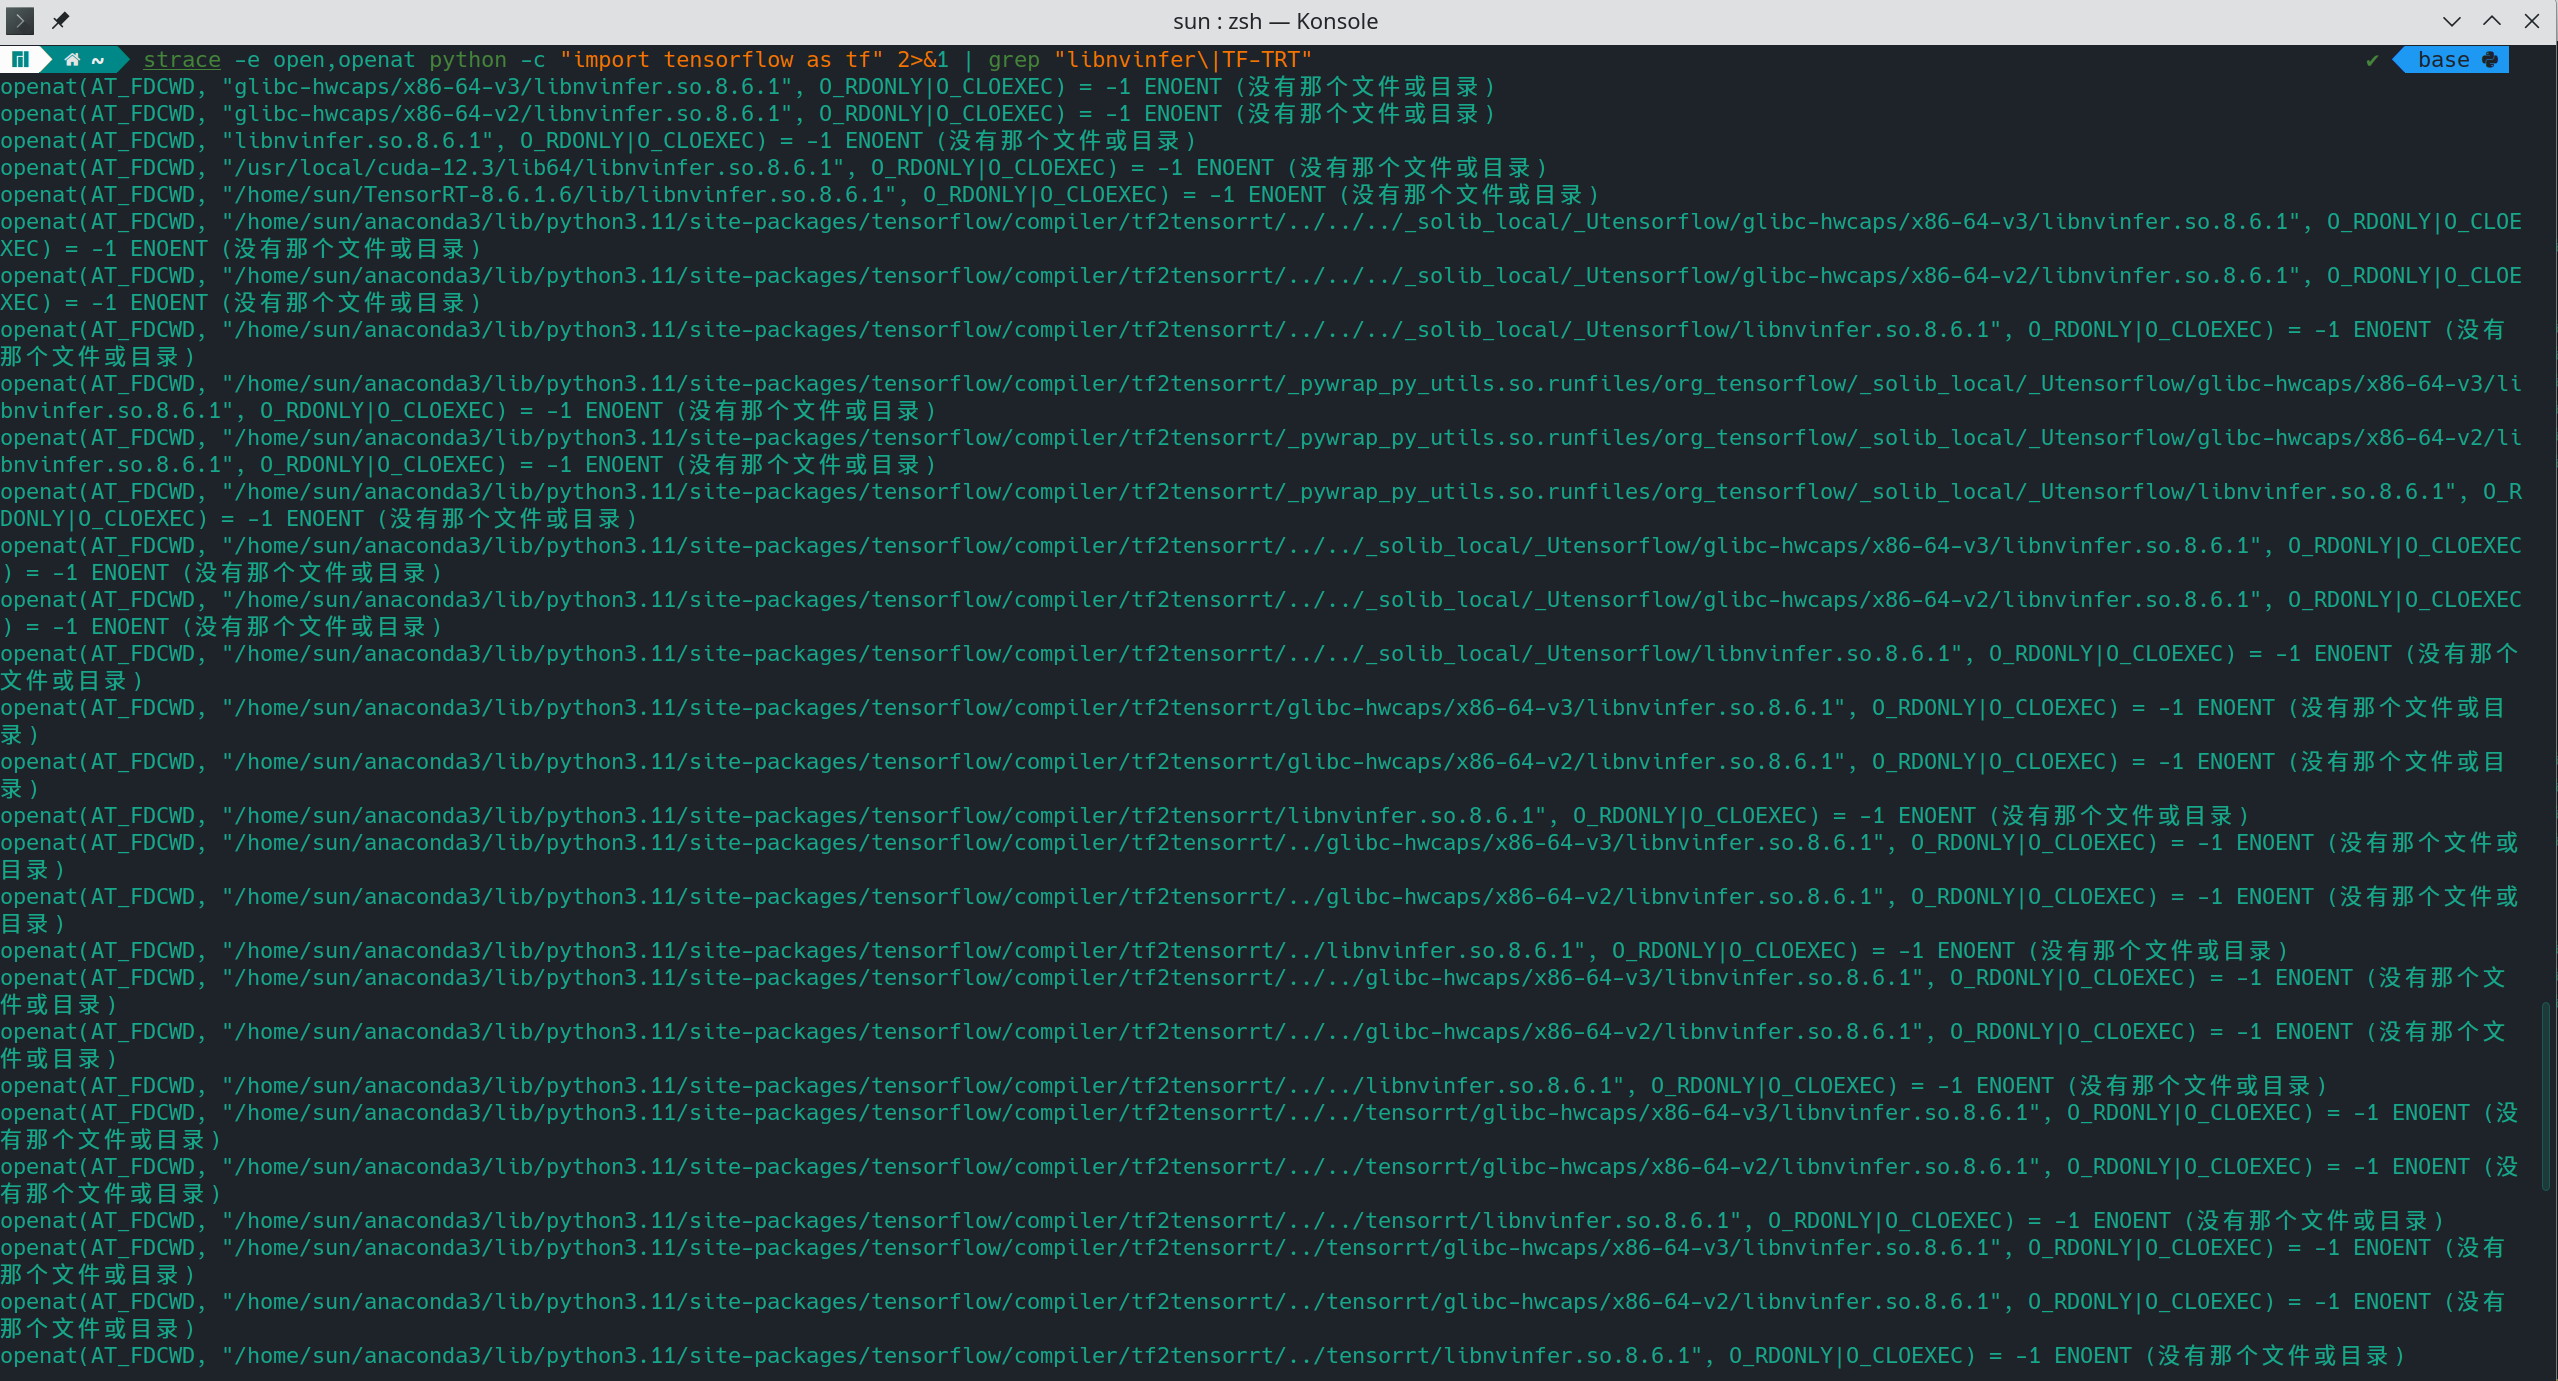
下载对应的tensorrt版本:https://developer.nvidia.com/tensorrt/download
1
2
3
4
5
| cd TensorRT-${version}/python
python3 -m pip install tensorrt-*-cp3x-none-linux_x86_64.whl
python3 -m pip install tensorrt_lean-*-cp3x-none-linux_x86_64.whl
python3 -m pip install tensorrt_dispatch-*-cp3x-none-linux_x86_64.whl
|
如果是10.0版本
1
2
3
| cd TensorRT-${version}/onnx_graphsurgeon
python3 -m pip install onnx_graphsurgeon-0.5.0-py2.py3-none-any.whl
|
将以下信息写入 ~/.bashrc 和
~/.zshrc,重新打开终端或source一下或重启
1
| export LD_LIBRARY_PATH="${LD_LIBRARY_PATH}:/home/sun/TensorRT-8.6.1.6/lib"
|